Stunning Wedding Bows On Cars A How-To Guide
Your wedding car isn't just a way to get from A to B; it's the chariot for your grand entrance and the backdrop for some of your most treasured photos. A few beautifully crafted wedding bows on cars can completely transform a standard vehicle into a key part of your celebration. It’s all about making sure your getaway is just as stylish as the rest of your day.
The Art of Wedding Car Decoration
The right bows are far more than just decoration—they're a statement. They tie your vehicle directly into your wedding's theme and colour scheme, creating a cohesive and polished look. We're moving beyond the simple, traditional bow to help you create something elegant that lasts, ensuring picture-perfect moments from the ceremony right through to the final send-off.
While classic white and ivory will always have their place, we're seeing a real shift towards more vibrant, personalised touches. To get a feel for the different materials and styles available, you can explore our full range of beautiful wedding ribbons.
Evolving Colour Palettes
Here in the UK, wedding bows and ribbons have become a central part of the day's aesthetic, and the colour palettes are definitely evolving. While traditional white and ivory remain popular, there's a noticeable move towards rich jewel tones. Think emerald green, deep burgundy, and striking royal blue.
This trend towards bolder, more colourful wedding bows shows a growing desire for visually stunning, Instagram-worthy details that truly pop.
A well-chosen bow does more than just decorate; it completes the story of your wedding day, connecting your transport to your overall theme with a single, elegant touch.
Choosing Your Ribbon and Colour Palette
The secret to a stunning wedding car bow? It all starts with the ribbon. The material and colour you choose do more than just dress up the vehicle; they echo the story of your day. The right fabric sets the whole mood for your wedding car decorations.
Think about the car itself. A classic Rolls Royce or a vintage Bentley just cries out for the timeless feel of luxurious satin. Its gentle sheen looks incredible in photos and speaks to tradition and romance. But what if you’re planning a spring wedding in the unpredictable British weather? This is where weather-resistant polypropylene comes in. It’s the material florists swear by for a reason – it holds its shape perfectly, even through a sudden downpour.
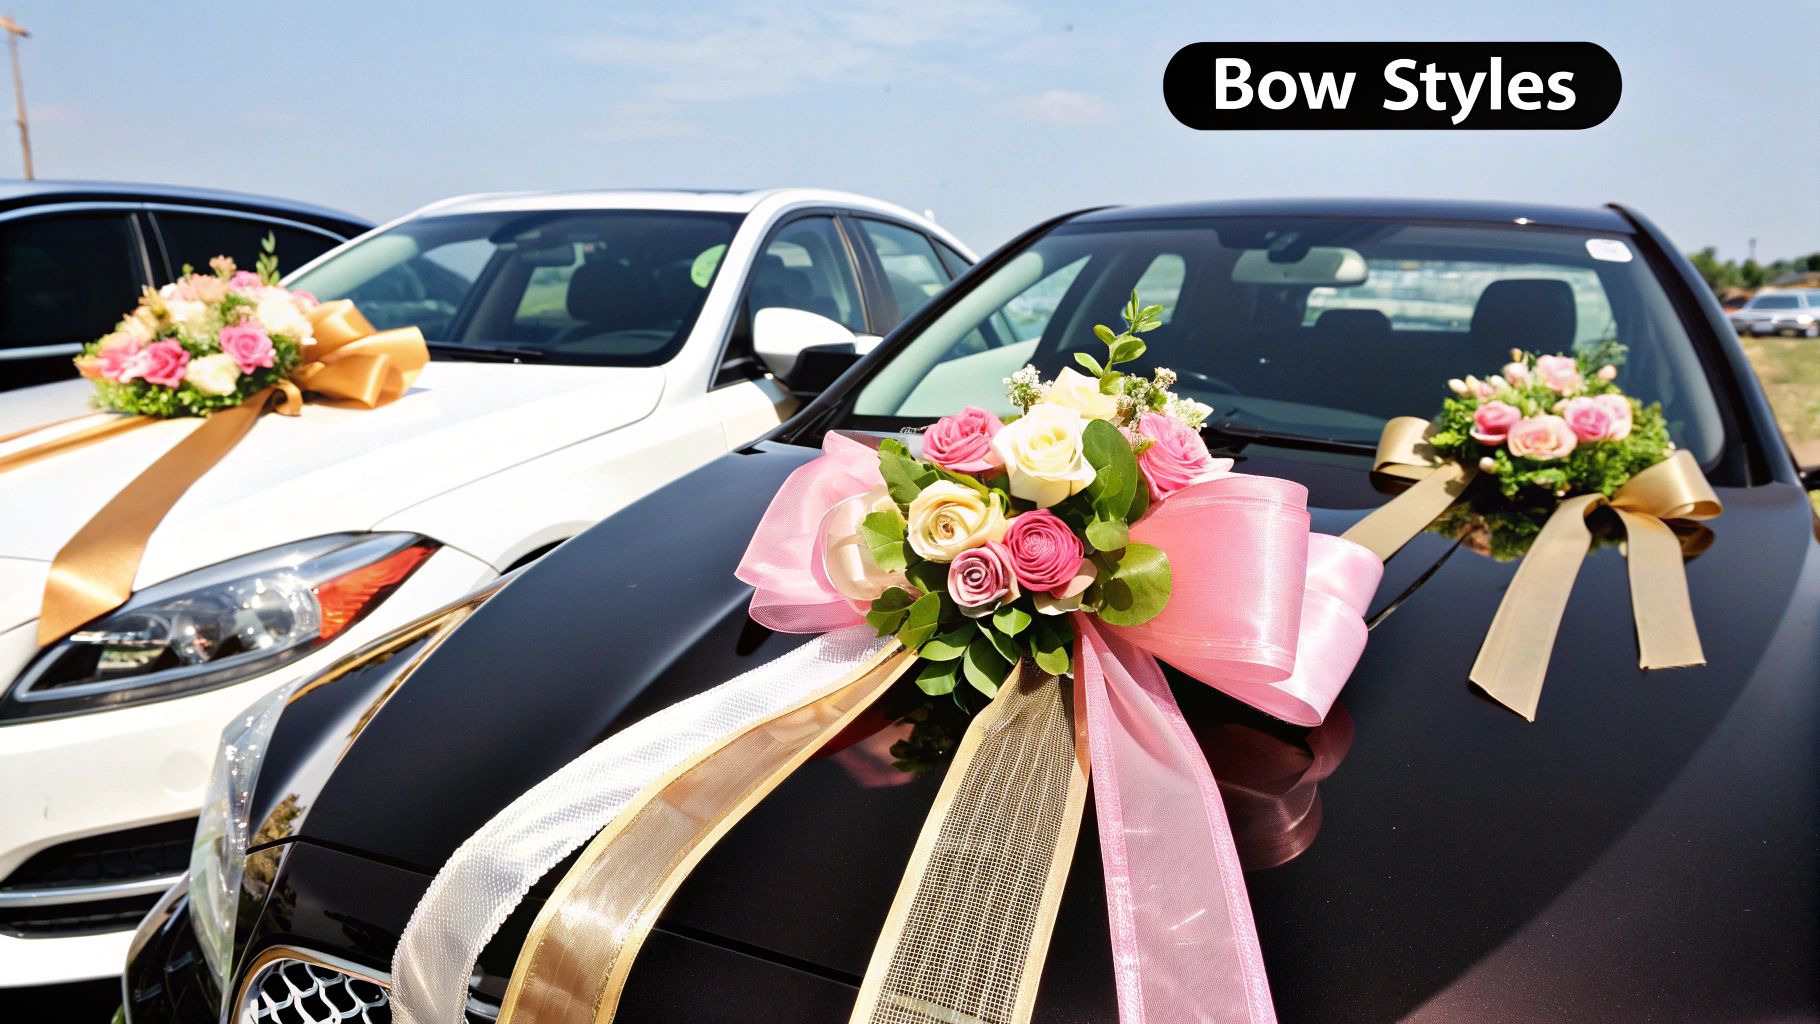
Matching Ribbon to Your Wedding Theme
The aim is to create a seamless look that carries through from your ceremony right to your getaway car. Your wedding car bows should feel like a deliberate, natural part of your overall aesthetic. Consider the vibe of your celebration:
- Rustic & Bohemian: For a barn or countryside wedding, a hessian or burlap ribbon brings a lovely, textured charm.
- Modern & Chic: If you’re having a city wedding, a shimmering organza or a crisp grosgrain ribbon adds a clean, sophisticated touch.
- Classic & Traditional: You can simply never go wrong with high-quality satin. Ivory, white, or a soft pastel that picks up a colour from your flowers always looks elegant. We’ve got a whole collection of wedding car ribbons to match any theme to get you started.
This sort of personalisation is a huge trend right now. Wedding car hire companies across the UK are seeing more and more couples ask for bespoke details. It’s not just about custom-coloured bows anymore; it’s everything from the ribbon to personalised number plates, all to make a statement that’s uniquely theirs.
Expert Tip: Don't be afraid to mix your textures! A wide satin ribbon paired with a thinner, sheer organza overlay can create incredible depth and visual interest. This layering technique is one of our favourites for making a bow look extra full and luxurious.
Crafting Your Own Stunning Wedding Car Bows
Fancy getting hands-on? Making your own wedding bows on cars adds a wonderfully personal touch, and it's much easier than you might think. With a bit of guidance, you can create gorgeous, full-bodied bows that look every bit as good as a professional's. Let's walk through the process together, focusing on simple techniques that deliver a flawless finish.
The whole process is pretty straightforward. Once you get the hang of it, you’ll see how choosing the right materials from the start leads to a beautiful end result.
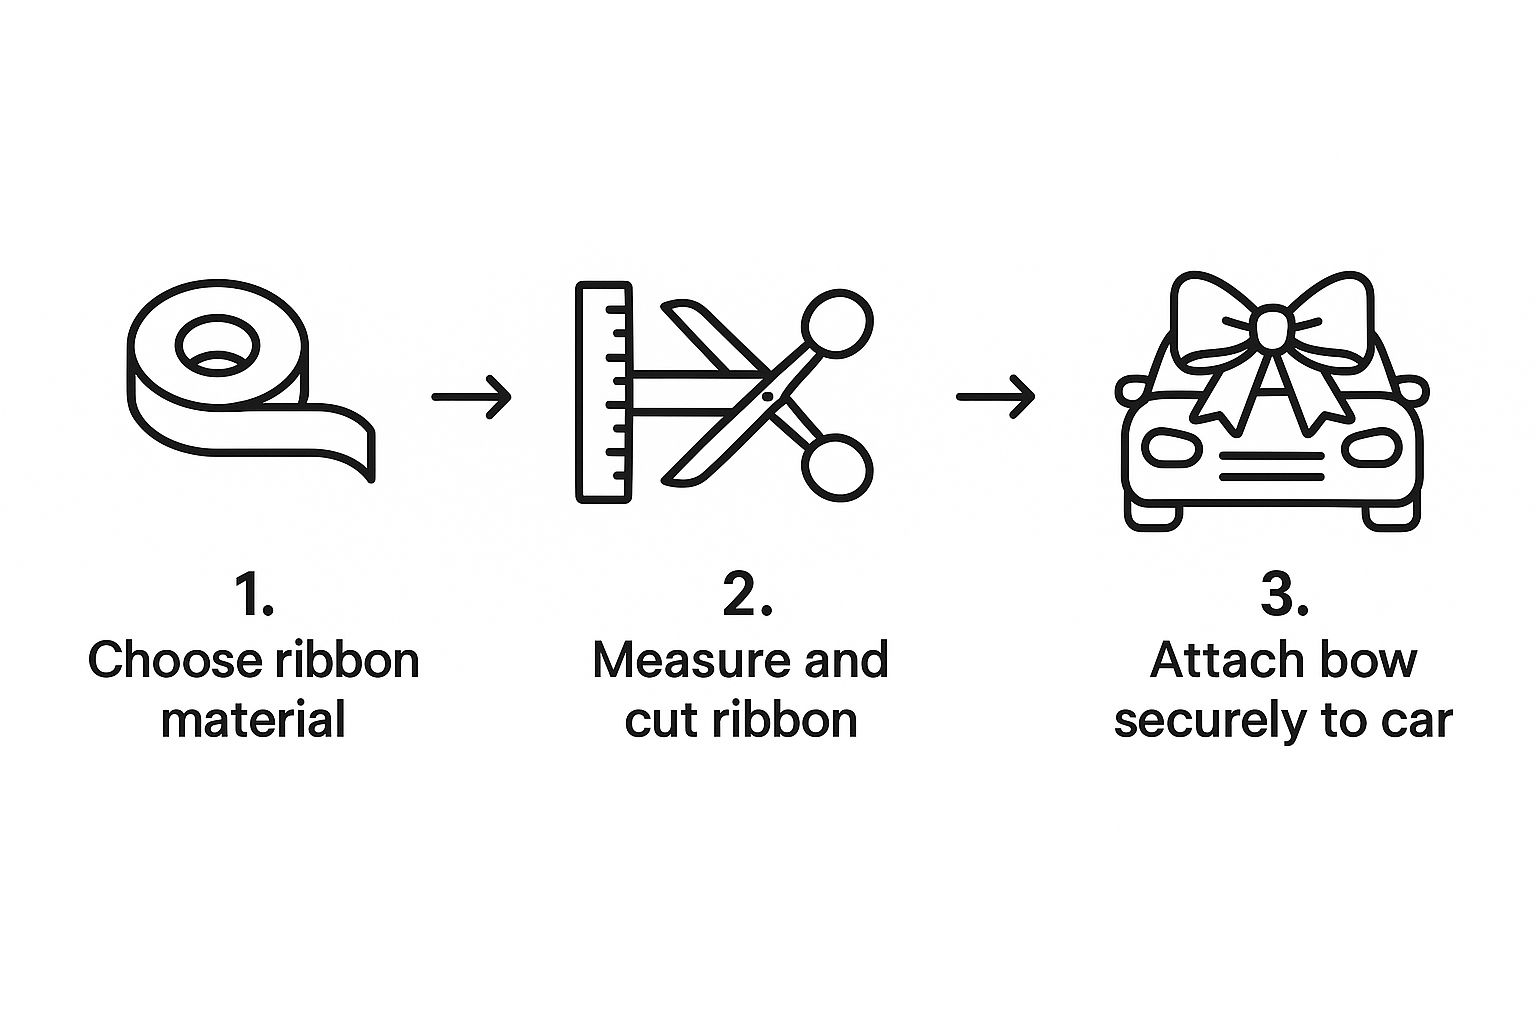
The real secret is mastering each little step, from picking your ribbon all the way through to tying it securely onto the car.
Measuring and Cutting for Impact
First things first, you need to decide on the size and style you're going for. A big, dramatic bow for the bonnet is going to need a lot more ribbon than smaller, delicate bows for the door handles or wing mirrors.
For a classic, really full bonnet bow, a good rule of thumb is to start with at least 5-7 metres of ribbon. This gives you plenty of length for making lots of voluminous loops and creating long, elegant tails that will flow beautifully as you drive away. If you're making smaller bows, about 2-3 metres per bow should do the trick.
A top tip is to always buy a little more ribbon than you think you’ll need. It’s much better to have some left over for practice or last-minute adjustments. When you get to cutting, make sure you use sharp fabric scissors. This gives you a clean, crisp edge and stops the ribbon from fraying, which instantly makes it look more professional. Cutting the ends of your tails at a sharp angle or into a 'V' shape adds that perfect final touch.
Insider Tip: Don’t just measure for the bow itself. Remember to account for the extra ribbon you'll need to actually tie it onto the car. We suggest leaving an extra metre of ribbon or using a separate, thinner piece of coordinating ribbon for tying it on. This makes attachment so much easier later on.
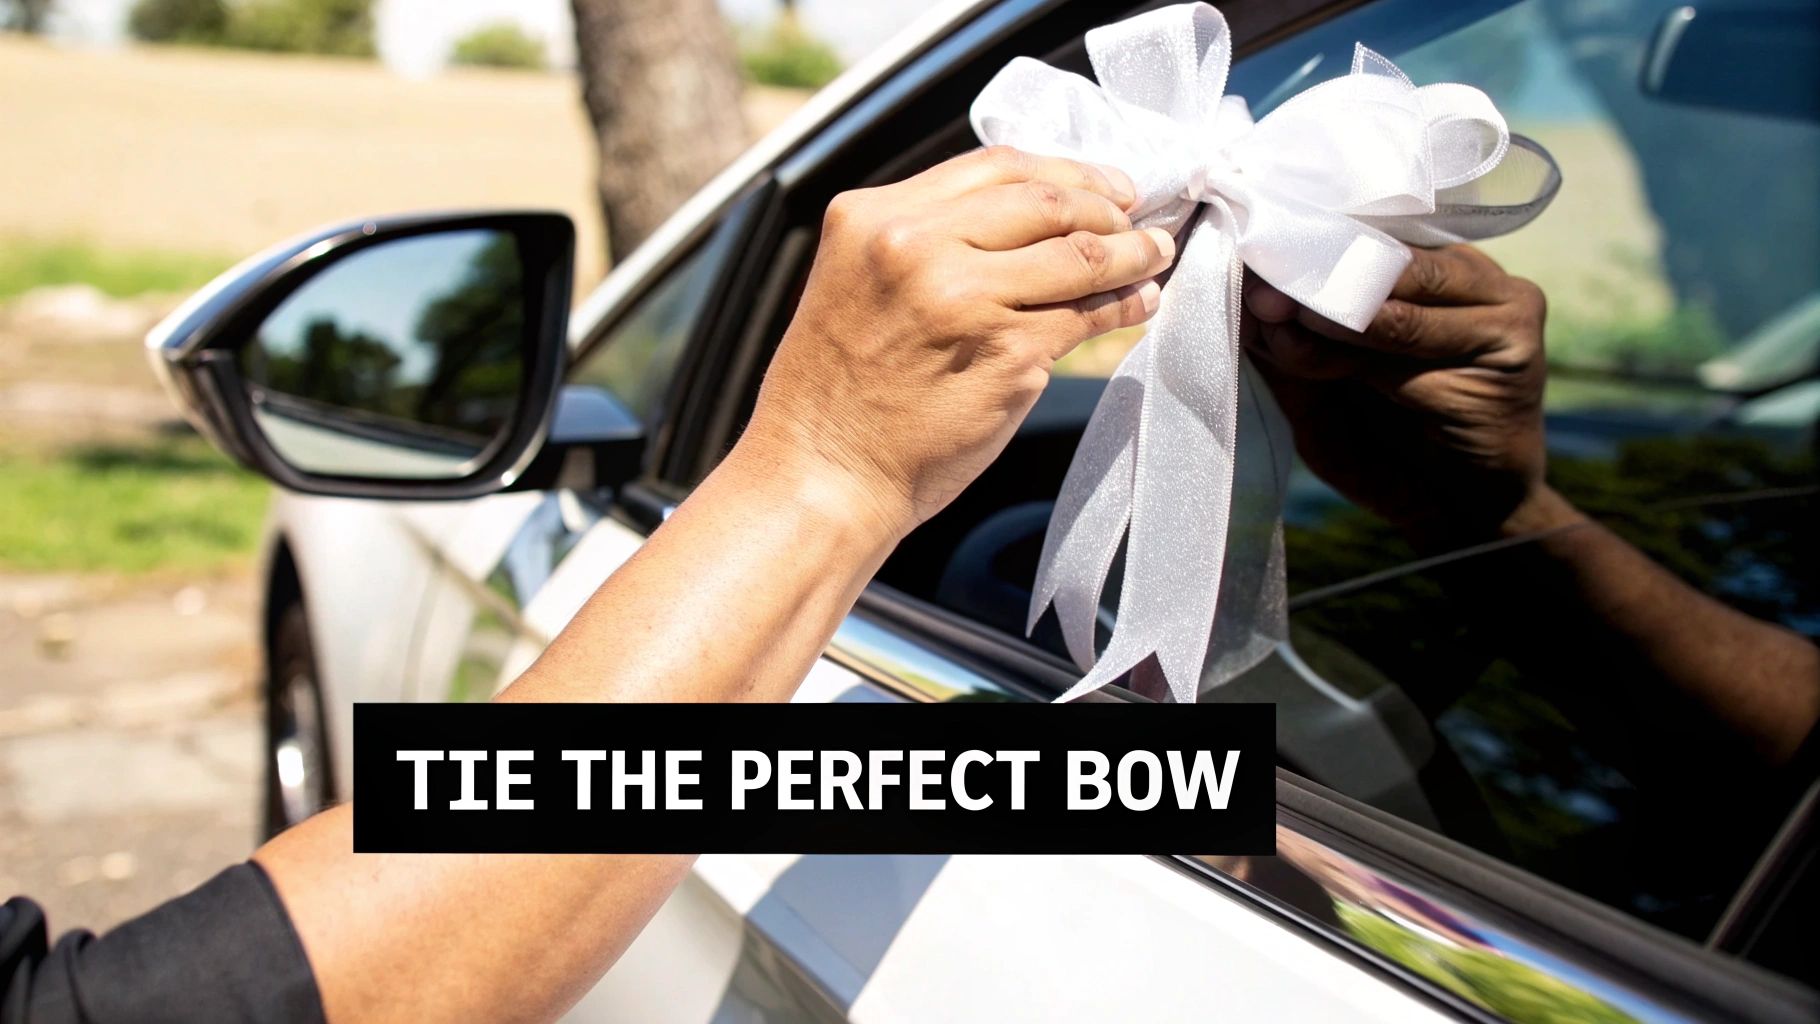
Looping and Tying Your Bow
The secret to a lush, symmetrical bow is what we call the "figure-of-eight" looping method. It sounds complicated, but it's not!
Start by making a small loop right in the centre, pinching it tightly between your thumb and forefinger. From there, you just keep creating bigger loops on either side, twisting the ribbon in the middle each time. This little twist is key—it keeps the shiny, pretty side of the ribbon facing outwards.
Once you’ve got a good number of loops (somewhere between 8-12 makes for a nice, full bow), you need to secure the centre. A thin piece of floral wire or even a cable tie works perfectly. Cinch it as tight as you can. Now for the fun part: fluff and arrange your loops to create that perfect, rounded, full shape. If you want to make an even bigger statement, you could even try a multi-layered bow using different colours or textures of ribbon.
While making your own bows is incredibly rewarding, we know that sometimes time just isn't on your side during wedding planning. If you'd rather have a perfectly finished bow without any of the fuss, you can always browse a selection of custom hand-made bows created by experts. It guarantees a flawless result every time, ready to pop straight onto your wedding car.
Securely Attaching Bows Without Damaging Paintwork
 You’ve spent time creating the perfect bows, so the last thing you want is for them to fly off mid-journey or, even worse, leave a scratch on the car. Nothing is more heartbreaking! The final hurdle is getting them attached securely without leaving a single mark.
The secret is all about using the right tools for the job. Your best friends here are soft, non-abrasive materials. I always recommend clear fishing line or a soft, plastic-coated floral wire. Both are strong enough to hold your wedding bows on cars firmly in place, even at a moderate speed, but they’re gentle enough not to scuff the paintwork.
Crucial Takeaway: Whatever you do, never use sticky tape, glue, or any other adhesive directly on the car's body. They can be a nightmare to get off and can easily ruin the clear coat, which means a costly repair. Tying things on is always the safest bet.
Finding Secure Anchor Points
Every car has solid points you can use to attach decorations, you just need to know where to look. Whether you’re working with a sleek modern saloon or a classic vintage model, the key is finding a spot where you can loop your line or wire around something sturdy.
The car grille is your most reliable option for the front of the car. There are usually plenty of openings to thread your line through, giving you a really secure anchor for a big bonnet bow. You could also discreetly tie it underneath the bonnet itself, right near the front edge.
For smaller decorations on other parts of the car, have a look at these spots:
- Door Handles: Most provide a perfect loop-through point for tying on smaller bows.
- Wing Mirrors: The support that connects the mirror to the door is another brilliant and sturdy anchor.
- Windscreen Wipers: The base of the wiper arms can work in a pinch for very lightweight decorations, but just be careful you don't stop them from moving.
When you’re ready to secure the bow, wrap the fishing line or floral wire around your chosen anchor point a few times before tying a tight, double knot. For a bit of extra security, you can add a tiny dab of clear nail varnish over the knot to help seal it.
Once you arrive at the reception, a small pair of scissors or wire cutters is all you'll need for a quick, clean removal. This careful approach makes sure your beautiful bows stay put for the whole journey and the wedding car looks pristine from start to finish.
Creative Styling and Placement Ideas
While a single, bold bow on the bonnet is a timeless classic, thinking outside the box can turn your wedding car into a true work of art. The placement and styling of your wedding bows on cars are where your personality can really shine, creating unforgettable photo opportunities.
Don't feel limited to just one bow. Have you ever considered a cascade of smaller, delicate bows trailing down the boot? They flutter elegantly as you drive away, creating a stunning sense of movement and offering a beautiful alternative to the traditional front-and-centre look. Another sophisticated option is to place matching bows on each door handle, which gives the car a balanced and polished feel from every angle.
My personal favourite trick is to create a small, tasteful cluster of bows on the car's grille. It’s an unexpected touch that looks incredibly chic, especially when paired with a coordinating ribbon V-shape across the bonnet.
Combining Bows with Other Elements
To really elevate your design, think about pairing your ribbon bows with other decorations. This layering approach adds texture, colour, and depth for a high-impact, professional finish. The key is to create a cohesive look that ties into your overall wedding theme.
Here are a few combinations that work beautifully:
- Fresh Greenery: Weaving fresh eucalyptus or ivy garlands through and around your bows adds a wonderfully organic and fragrant element. This is perfect for rustic or botanical-themed weddings.
- Elegant Florals: Tucking small clusters of silk or fresh flowers that match your bouquet into the centre knot of your main bow creates a seamless link between your personal flowers and the car’s decor.
- Custom Signage: A classic "Just Married" sign or a custom banner with your initials looks fantastic when framed by two beautiful bows at either side of the boot or rear window.
By combining these elements, you move beyond simple decoration. You begin to style the vehicle as a complete part of your celebration's aesthetic, making it as memorable as the rest of your day.
Got Questions About Wedding Car Bows? We’ve Got Answers

To wrap things up, let's tackle some of the most common questions we hear from couples about wedding bows on cars. Getting these details right from the start means your decorations will look stunning and, just as importantly, stay put. It's all about enjoying your big day without any little worries!
How Much Ribbon Do I Actually Need?
This is a classic question! For a big, beautiful bonnet bow that makes a real statement, you'll want to start with at least 5-7 metres of ribbon. This gives you plenty of length for creating generous loops and lovely long tails that flow elegantly as you drive.
For the smaller, complementary bows you might pop on the door handles or wing mirrors, around 2-3 metres per bow should do the trick perfectly.
Our Advice: Always buy a little more ribbon than you think you need. It’s so much better to have some spare for a practice run or a last-minute tweak than to be caught short on the morning of the wedding.
Can I Put Bows on a Hired Car?
In most cases, the answer is a resounding yes, but you absolutely must check with the hire company first. Professional wedding car services are well-used to decorations and many will even offer them as part of their hire package.
The key is to confirm their policy beforehand. Be sure to ask if they have any specific rules on how to attach them, so you don't breach their terms or accidentally cause any damage to the paintwork.
Will Ribbons Damage the Car's Paintwork?
Not if you do it right! If you stick with the right materials and attachment methods, the paintwork will be perfectly safe. Use soft ribbons like satin or our florist-grade polypropylene and secure them with something non-abrasive. Think soft floral wire, clear fishing line, or specialist car clips designed for the job.
Whatever you do, never use standard sticky tape or any other adhesive directly on the car’s paint.
Ready to find the perfect ribbon for your big day? At Ribbons4u Ltd, we have a huge selection of wedding ribbons in every colour and material you can imagine, plus beautiful handmade bows that are ready to go. Explore our collection at https://ribbonsforyou.com and add that perfect finishing touch to your celebration.


 Facebook
 Twitter
 Pinterest