Ribbon Flower Tutorial: Create Stunning Crafts Easily

Before you even think about making that first fold or stitch, the real secret to a stunning ribbon flower lies in your choice of materials. This is the foundation of your craft, and it's what will determine whether your finished bloom looks soft and romantic, structured and bold, or beautifully delicate.
Think of it like baking a cake; the quality of your ingredients makes all the difference. In our case, the ribbon is the star of the show.
Choosing The Right Materials For Your Ribbon Flowers
Getting your materials right from the start is half the battle won. The ribbon’s texture, width, and even its weight will completely change the personality of your flower. It's about understanding how each element works to bring your vision to life.
Understanding Ribbon Types
Picking the perfect ribbon is often where your project’s success is decided. Each type has its own character, making it better suited for certain flower designs.
-
Satin Ribbon: This is the go-to for classic roses and elegant buds. Its smooth, glossy finish catches the light beautifully, giving a really luxurious look. It’s no surprise it's so popular; market data shows that around 35% of craft ribbon sales in the UK are satin varieties, especially those between 10mm and 25mm wide, loved for their feel and vibrant colours. You can explore these findings about the craft supplies marketto see just how dominant it is.
-
Organza Ribbon: If you’re aiming for something light, airy, and ethereal, you can’t beat organza. Its sheer quality is perfect for creating delicate, see-through petals that look incredible when you layer them up.
-
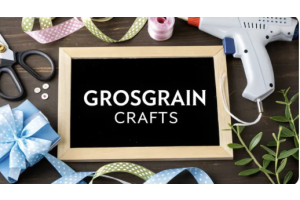
Grosgrain Ribbon: With its trademark ribbed texture, grosgrain gives you fantastic structure. This makes it the ideal choice for flowers that need defined, crisp petals that hold their shape well, like daisies or zinnias.
To help you decide, here’s a quick guide to some of the most common ribbon types and what they're best used for in flower making.
Ribbon Selection Guide For Flower Making
| Ribbon Type | Best For | Key Characteristics |
|---|---|---|
| Satin | Classic roses, elegant buds, formal arrangements | Smooth, glossy finish, soft drape, wide colour range. We have a great selection of satin ribbons ideal for crafting. |
| Organza | Delicate, airy flowers like peonies or poppies | Sheer, lightweight, ethereal look, great for layering. |
| Grosgrain | Structured flowers like daisies, zinnias, or carnations | Stiff, ribbed texture, holds its shape well, durable. |
| Velvet | Rich, luxurious blooms for winter or autumn projects | Plush, soft texture, deep colour saturation, adds warmth. |
Choosing the right ribbon from this list will set you on the path to creating a beautiful, professional-looking flower.
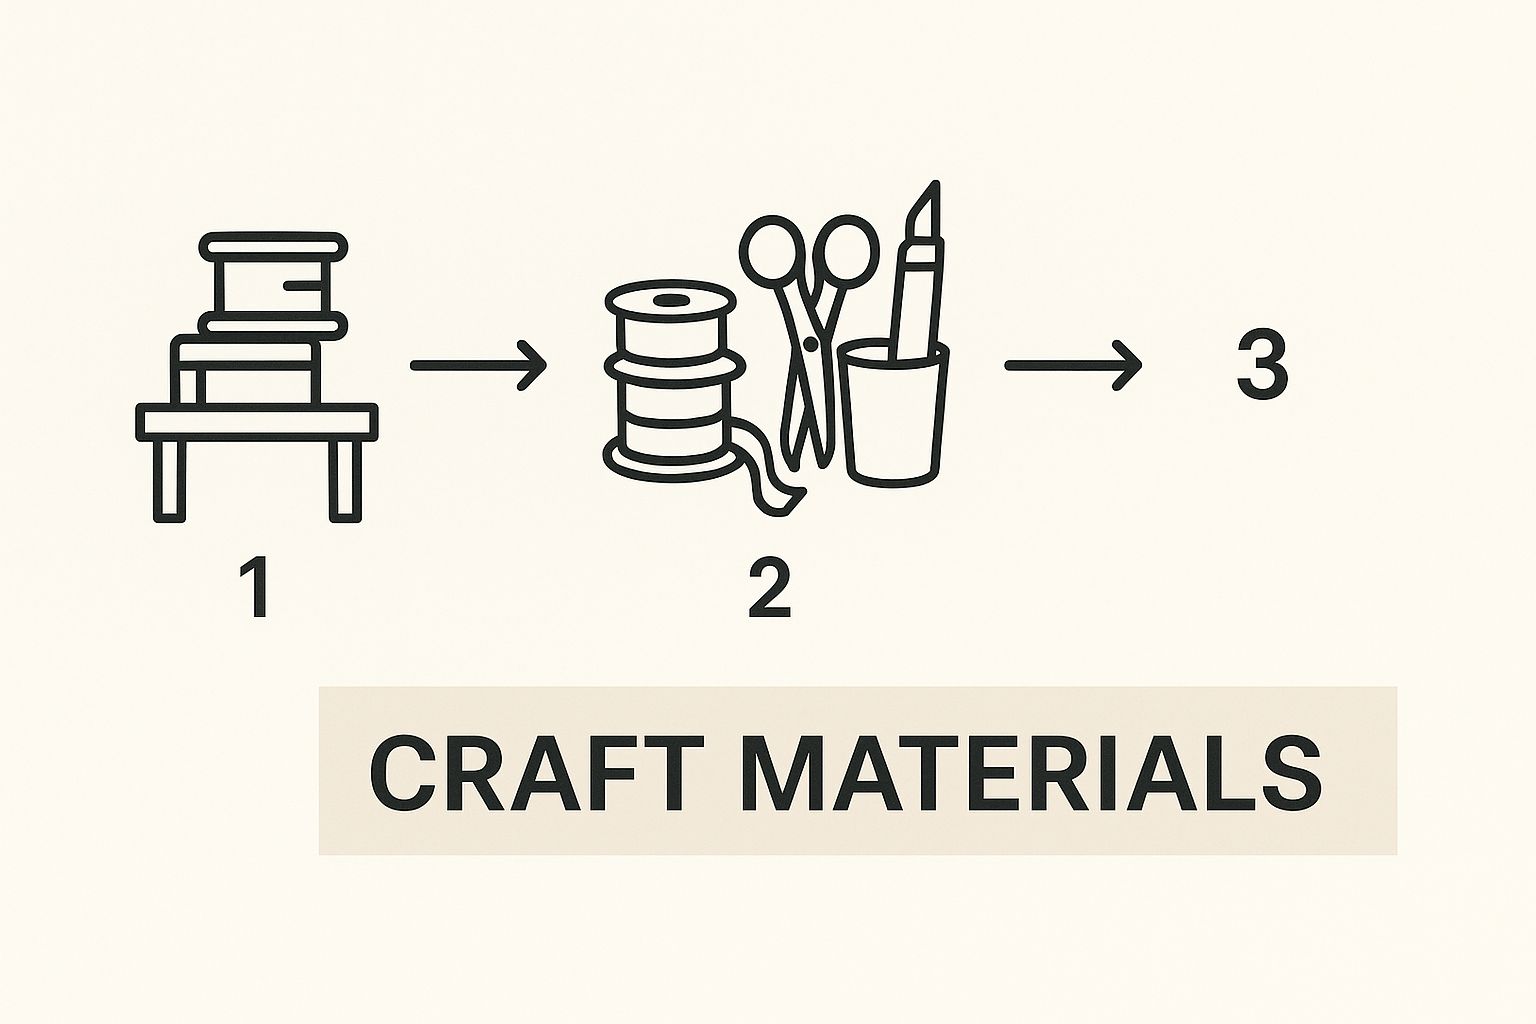
Essential Tools For Success
Beyond the ribbon itself, having a few key tools on hand will make the whole process smoother and give you much better results.
Sharp fabric scissors are an absolute must for getting clean cuts that won't fray the ribbon straight away. When it comes to putting it all together, a hot glue gun gives you a quick, strong bond. For more delicate materials, though, a clear fabric adhesive is a gentler option.
A very common mistake I see is people using their everyday kitchen or paper scissors. They just crush and fray the ribbon fibres. Honestly, investing in a dedicated pair of sharp fabric shears is one of the best things you can do to immediately improve the quality of your work.
Mastering The Classic Folded Ribbon Rose
Let's dive into one of my all-time favourite designs: the classic folded ribbon rose. It’s the perfect project to get started with because it looks incredibly elegant, but you’ll be surprised at how simple it is to create once you get the hang of it. The whole process has a lovely, calming rhythm to it.
The secret to a beautifully formed rose starts with a nice, tight central bud. To get this just right, take the end of your ribbon and fold it over at a 90-degree angle. Then, roll it up tightly a couple of times. This little roll is the heart of your flower and gives it all its structure.
Building The Petals
With your central bud formed, you can start creating the petals. This is where the magic really happens. It’s all down to a simple, repetitive folding motion. You’ll fold the long end of the ribbon back and away from you at roughly a 45-degree angle, then wrap that fold around the central bud. Each time you fold and wrap, you create a brand-new petal.
Getting the tension right is key to a realistic-looking rose. If you pull the ribbon too tight, you'll end up with a small, constricted-looking flower. But if you're too loose, the petals will lack definition. I find it’s best to aim for a consistent, gentle tension with every fold. This helps build up the layers beautifully, just like a real rose unfurling.
Before you start, it’s always a good idea to get your workspace organised. A clear space makes the whole process so much smoother.
Having everything you need within easy reach really helps you get into a good crafting flow.
Securing Your Finished Rose
Just keep folding and wrapping until your rose is the size you want. When you're happy with it, snip the ribbon, making sure to leave a small tail. Tuck this end underneath the flower and then secure everything at the base. You can use a dab of hot glue or a few well-placed stitches – whichever you prefer.
Here's a little tip I've picked up over the years: as you work your way outwards from the centre, try to vary the angle of your folds slightly. It's a small change, but it stops the rose from looking too perfect and gives it a more natural, organic feel.
The folded ribbon rose is wonderfully versatile. You can make them in any size or colour you can imagine, and they look fantastic on gifts, hair accessories, or even dotted around your home. If you want to see just what's possible, take a look at the beautiful selection of handmade ribbon bows and roses on our website for a bit of inspiration.
Creating a Gathered Kanzashi-Style Flower
If you're after a really striking and polished look, the gathered Kanzashi-style flower is a fantastic choice. It has a different kind of beauty to the free-form rose, with clean, symmetrical lines that are just perfect for adding a sophisticated touch to hair clips, brooches, or even as an elegant accent on a gift box. Unlike the more organic folded rose, this method is all about uniformity and precision.
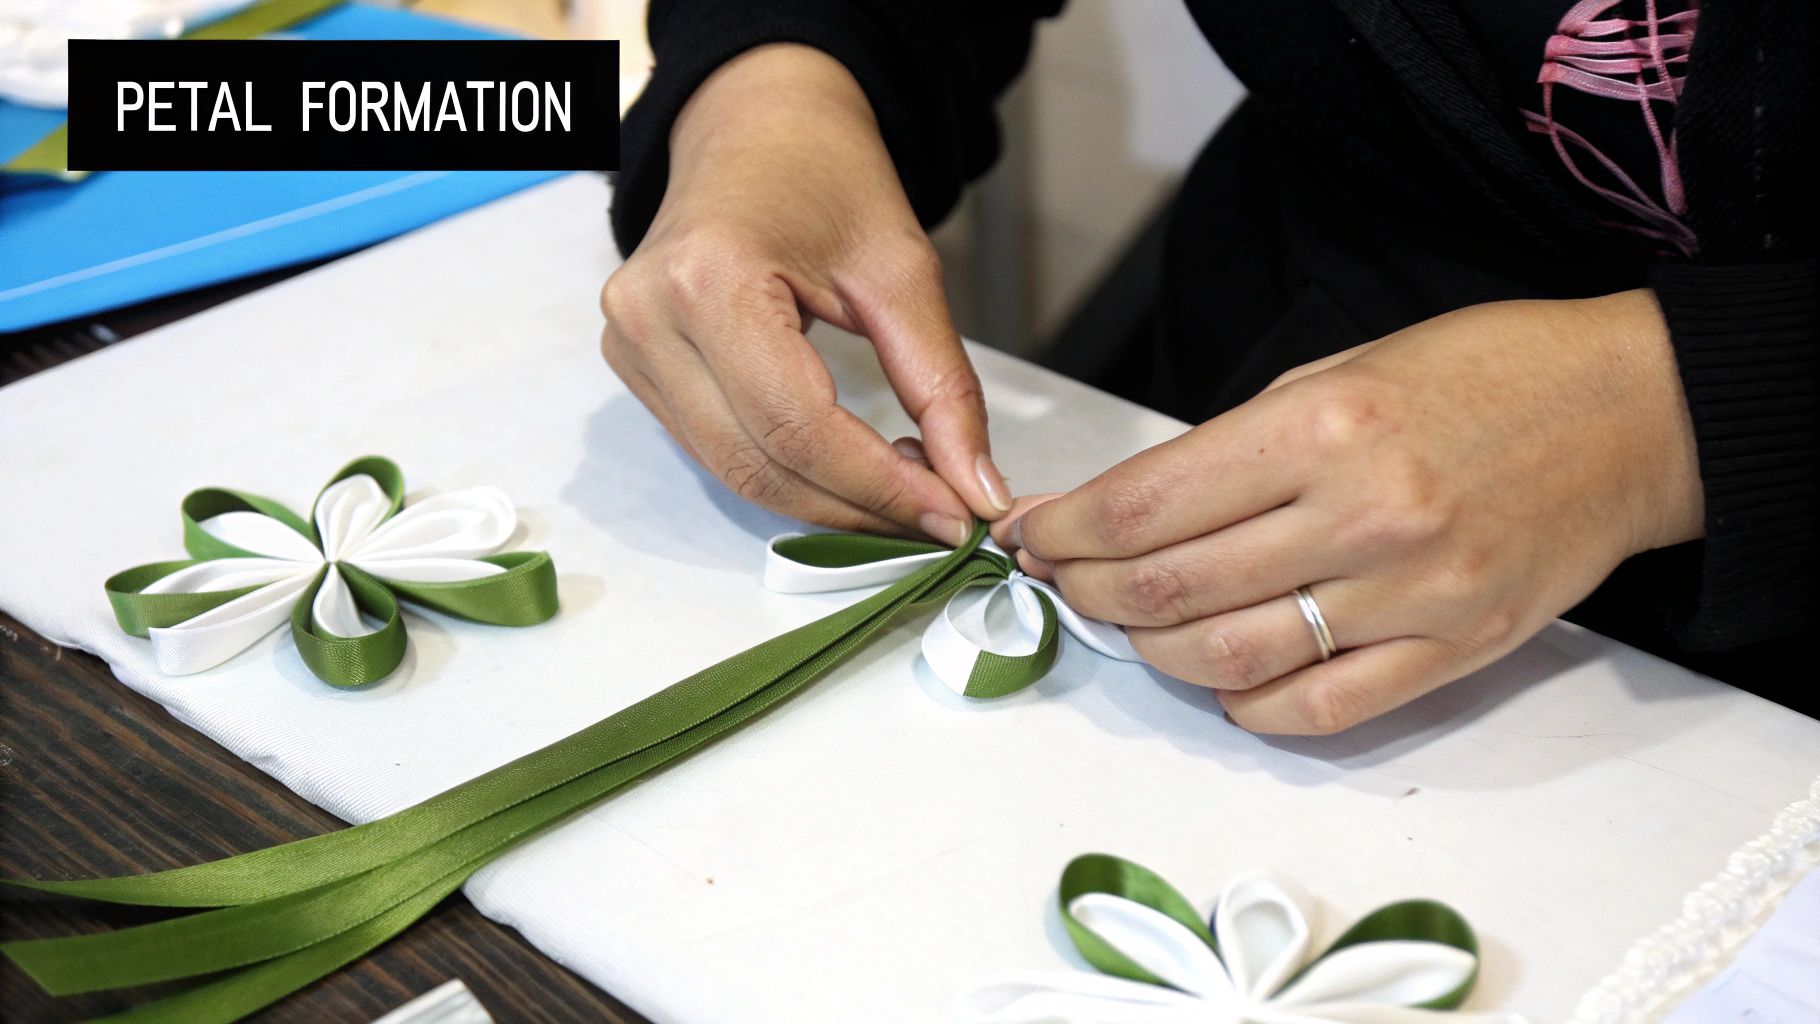
This technique uses a simple needle and thread to get its distinctive shape. You'll start by cutting several identical squares of ribbon. I find that grosgrain is an excellent choice here as it has enough body to hold its shape beautifully. You'll generally want between five to eight squares, depending on how full you’d like the final bloom to be.
Next up, you'll fold each square into an individual petal. Depending on your folding technique, you can create either sharp, pointed petals or softer, more rounded ones. Once you're happy with the fold, take your needle and make a simple running stitch along the raw, bottom edge of each petal.
Assembling Your Kanzashi Flower
Once you've stitched all your petals onto a single thread, this is where the magic really happens. Gently pull on both ends of the thread, and you'll see the individual petals start to gather together, almost by themselves, into a lovely circular bloom.
The trick is to pull the thread just taut enough to close any gap in the centre, but not so tight that the petals pucker up awkwardly. When you're happy with the shape, tie the thread ends together securely with a double knot to lock everything in place.
Don’t worry if your first attempt has slightly uneven petals. That's a really common issue when you're starting out and usually just comes down to a bit of inconsistency in the folding or stitching. With a little practice, you'll quickly get a feel for it and be creating perfectly balanced flowers in no time.
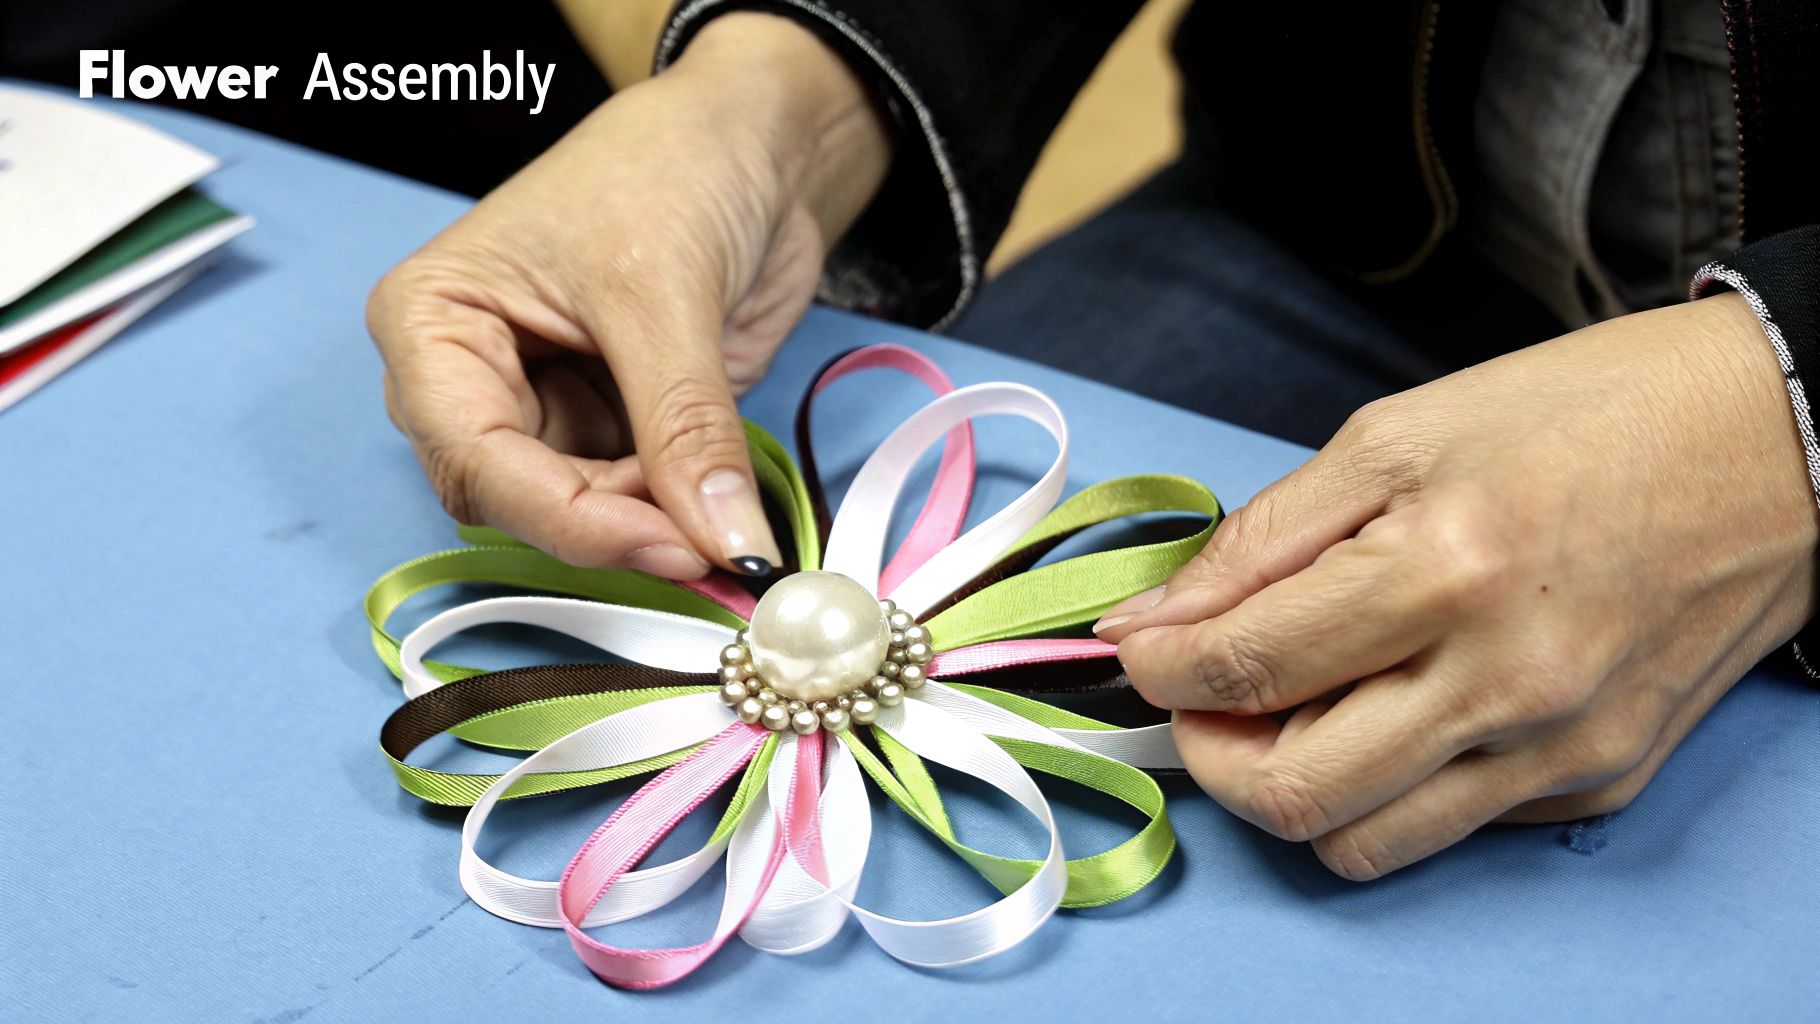
For a professional finish, I always like to glue a little something into the centre—a decorative button, a small bead, or even a rhinestone works wonders. Not only does it add a beautiful decorative element, but it also cleverly hides the gathered threads from view.
Ready to create a real showstopper? The layered dahlia is one of those designs that looks incredibly intricate but is actually a wonderfully satisfying and methodical make. It’s all about building up layers of individual petals to create something with amazing depth and texture.
The secret to this flower is the individual petal. You’ll be making quite a few of these! Start by cutting your ribbon into several pieces of the same size. To shape one, just form a simple loop and secure the ends together with a little hot glue.
Now for a pro tip that makes all the difference: heat-sealing the edges. This is a must for ribbons like satin or grosgrain to stop them from fraying. Once you’ve glued the ends of your loop, carefully and quickly pass the sealed base through the flame of a lighter. It’s a tiny detail, but it does two things – it seals the ribbon and gives the petal a lovely, subtle curve.
Bringing Your Dahlia to Life
The real magic happens when you start layering the petals onto a felt base. Just cut a small circle from a piece of felt; this is the hidden foundation that will hold everything together perfectly.
Start by gluing your first round of petals to the very edge of the felt circle. These should be your largest petals, as they'll create the wide, impressive base for your flower.
With the first layer down, it's time for the second. You’ll want to place these new petals to cover the joins of the first layer. This little trick is what makes the dahlia look so full and natural. Keep working your way inwards, making each new ring of petals just a little smaller than the last. That gradual change in size is what creates the dahlia's classic domed shape.
Want to give your dahlia an even more realistic, dynamic feel? Try using a few different shades of the same colour. I love starting with the darkest ribbon for the outer petals and getting progressively lighter as I move towards the centre. It creates a gorgeous gradient effect that really mimics how light hits a real flower.
Once finished, you’ll have a stunning bloom that’s perfect for statement brooches, decorating a hat, or becoming the focal point of a wreath. It’s a fantastic technique to master and one that really takes your crafting to the next level.
Inspiring Ways To Use Your Handmade Flowers
Right, now that you’ve got a few ribbon flower techniques under your belt, the real fun can begin! This is where you get to see your beautiful, handcrafted blooms come to life, moving them off the craft table and into your home, wardrobe, and special events.
One of the biggest areas I've seen these flowers pop up is in wedding and event décor. There's a huge move towards sustainable, handmade touches, and ribbon flowers fit the bill perfectly. In fact, wedding planners are reporting that over 40% of couples are choosing handmade floral alternatives to make their big day feel more personal.
Personalising Accessories and Gifts
Your ribbon flowers are absolutely perfect for turning everyday items into something truly special. Imagine attaching a single, delicate Kanzashi flower to a plain hair clip or a simple headband. Or, a gorgeous layered dahlia can become a stunning brooch, giving a plain coat or jacket an instant pop of colour and style.
They also make wonderful gift toppers. Instead of a disposable bow from a shop, a handmade ribbon flower becomes a lovely keepsake for the recipient long after the present is unwrapped. It just shows that extra bit of thought and care.
A simple collection of your handmade flowers, thoughtfully arranged in a shadow box, can become a unique piece of wall art for your home. It’s a fantastic way to show off your skills and add a bit of handmade charm to your space.
More Ideas For Using Your Flowers
Not sure where to start? Here are a few ideas I've seen work beautifully:
- Home Décor Accents: Attach them to curtain tie-backs, picture frames, or even weave them into a seasonal wreath.
- Fashion Embellishments: Pin them onto tote bags, hats, or even your favourite pair of shoes for a completely custom look.
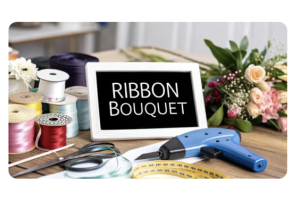
- Keepsake Bouquets: Create everlasting wedding bouquets and buttonholes that won’t ever wilt. A perfect memento!
Once you start thinking creatively, you’ll find endless ways to use your new skill. If you're looking to dive straight into another project, you might be interested in our dedicated ribbon kits and crafts. They come with everything you need to get started.
Right, let's get into some of the questions I hear all the time from fellow crafters. When you're just starting out, or even when you've been at it for a while, a few tricky spots can pop up. Let’s tackle them together.
The Great Glue Debate and Fraying Fiascos
First up, adhesives. What’s the best glue to use? Honestly, it really depends on what you're making.
For most projects, especially when you’re attaching petals to a felt base, a hot glue gun is your best friend. It’s quick, creates a solid bond, and gives your flowers the sturdiness they need. But, a word of caution: if you're working with delicate materials like organza, steer clear of hot glue. It can melt the fabric. A clear fabric glue is a much safer bet for those finer ribbons.
Another common headache is frayed edges. Nothing ruins the look of a beautiful, crisp flower faster than fuzzy, unravelling ends. Thankfully, there are a couple of easy fixes.
- Snip, Snip! Always, and I mean always, use a pair of scissors dedicated just for fabric. A sharp, clean cut is your first line of defence against fraying because it slices through the fibres cleanly instead of crushing them.
- A Touch of Heat: This is my go-to trick for synthetic ribbons like satin or grosgrain. Very carefully, pass the cut edge of the ribbon quickly through the flame of a lighter. The heat seals the fibres together instantly. Just be sure to do this in a well-ventilated space and keep your fingers clear!
What about wired ribbon? I get asked this a lot. Can you use it for flowers? Yes, absolutely! It’s fantastic for larger, more dramatic blooms. The wire hidden along the edges is a game-changer; it lets you sculpt and shape each petal with amazing control, so your flower holds its form perfectly.
It’s no surprise that this craft is capturing more and more people's imaginations. In the UK, we've seen a huge spike in interest. Digital engagement with ribbon flower tutorials has shot up, with weekly video views climbing by about 50% between 2021 and 2024. You can discover more insights about these crafting trends online if you're curious!
At Ribbons4u Ltd, we stock a massive range of high-quality satin, grosgrain, and speciality ribbons that are perfect for any project you have in mind. Take a look at our collection at https://ribbonsforyou.com and find the perfect ribbons for your next creation.


 Facebook
 Twitter
 Pinterest